Valet order step: Collect from customer
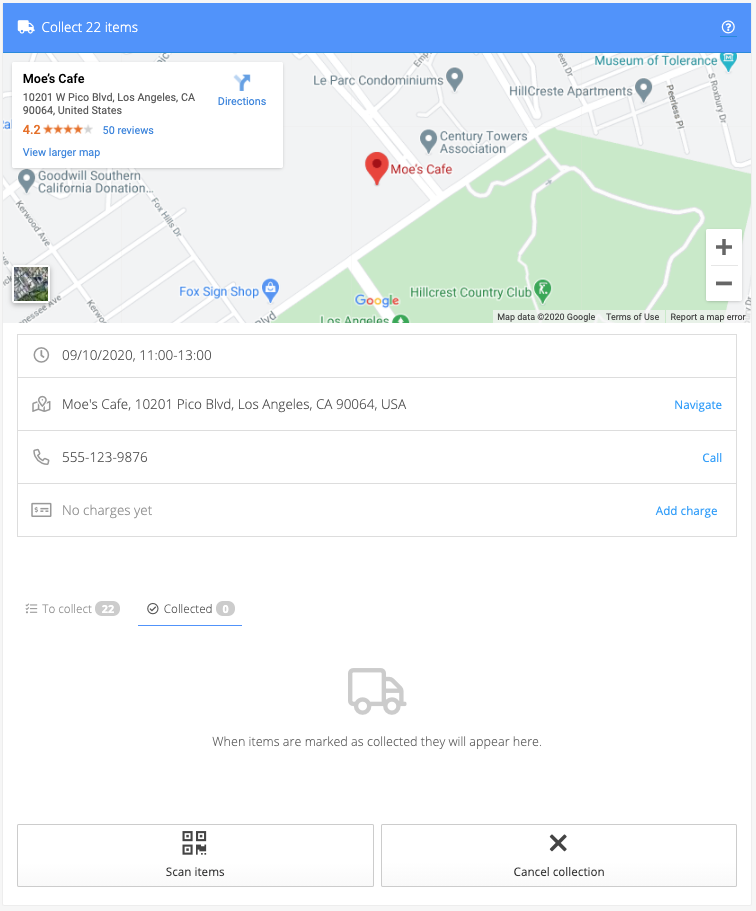
Similar to the delivery step, you can use the Navigate or Directions buttons to open Google Map navigation to the collection location. Click on the Call button to call the customer directly.There are 2 tabs grouping items by their current state which you can switch between in order to see & update the different items in each state:
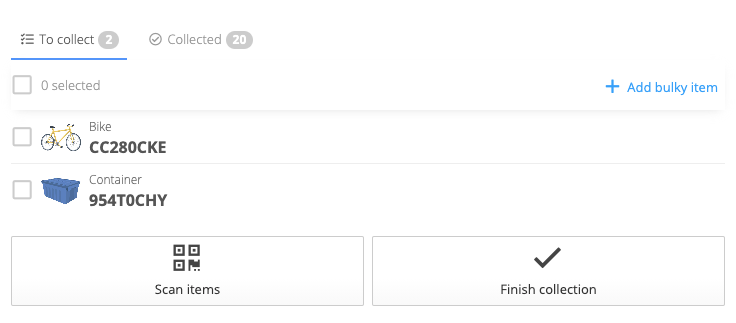 The item IDs for additional bulky items created during this step will be created as part of the item creation process and will be visible once you click on Add bulky item.
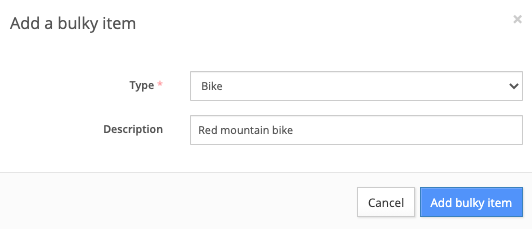
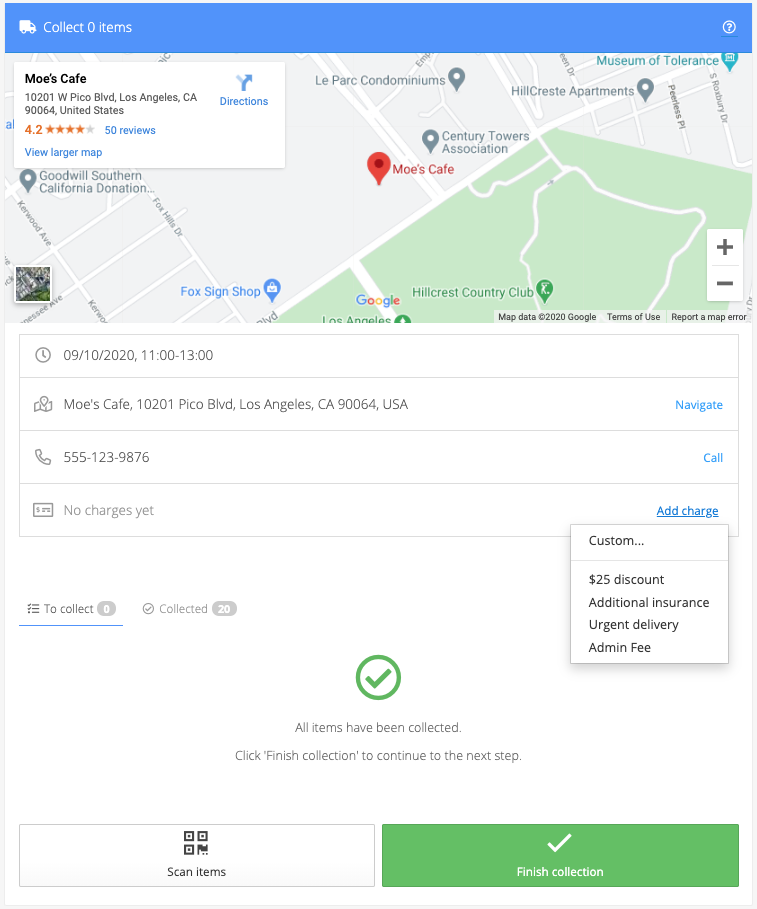
If not all items have been marked as collected, you'll get a prompt to confirm if you'd still like to complete the step even though not all items have been marked as collected.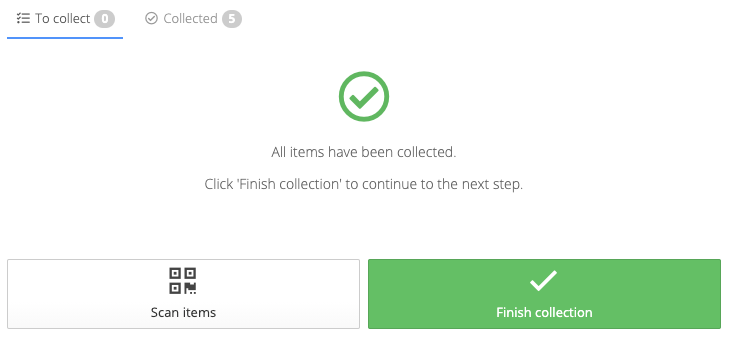
- To collect
- Collected
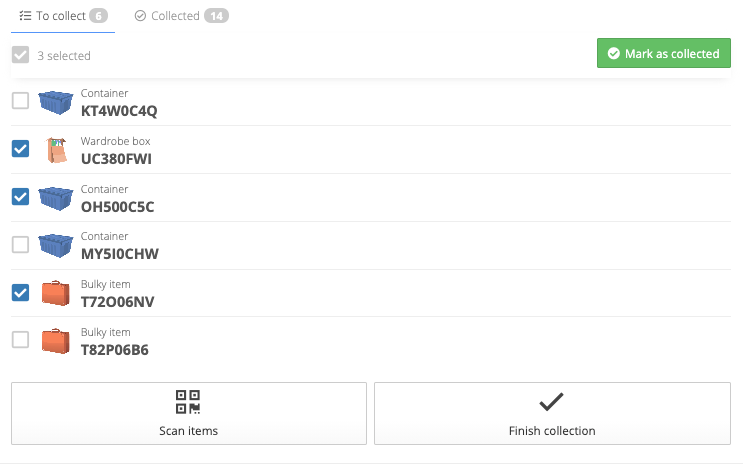
Mark items as collected
Scan item barcodes
The order will list the associated items to be collected from the customer. Click on the Scan items button to open the scanner. If you are running Storeganise on a mobile device or tablet, you can use your device's camera to scan the item barcode once you allow Storeganise to access and use your device's camera.Hover the camera over each respective barcode and the items will get added. As they get added, they'll appear in a list under the camera view.When you are done, click on Finish and the items will be marked as collected.Select the items manually
Alternatively, you can select the respective items by clicking on the ▢ icon next to each item (or the ▢ icon at the top of the list to select all).Once the respective items have been selected, click on the green Collected button to mark the items as collected and then you can complete the step.Mark items as not collected
If items which were expected to be collected weren't available for collection, simply leave them in the To collect state.Note: You can proceed with the step even if not all items have been collected. Once you have marked all the collected items as collected, just click on the Finished collection button and click OK in the prompt that appears.Add images & descriptions to items
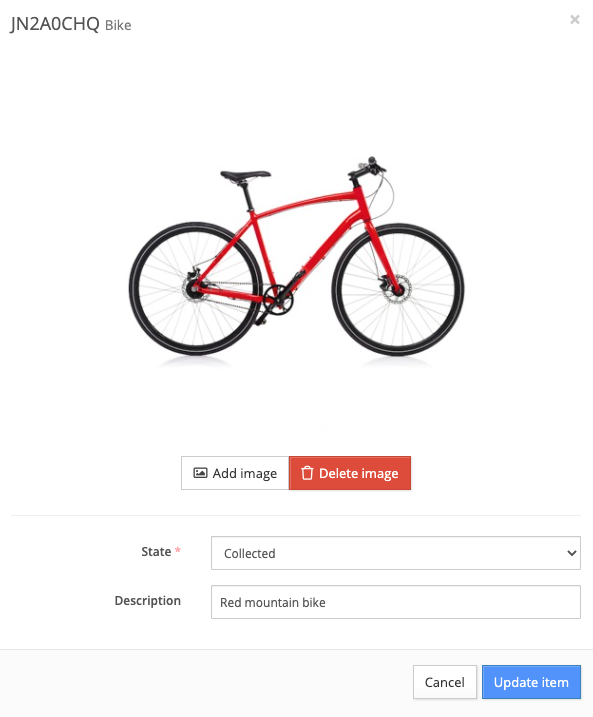
Click on an individual item and click on the Add image to add photos and then you can enter item details in the Description section. If you are using a phone or tablet, you'll be able to use the camera to snap a pic or use one that is saved on the device.To understand the logic of how images are handled in the system, check out the last section of the Item: Details help doc.Adding charges
If you need to add additional one-off charges to this step of the order (e.g. parking fees, tolls, urgent delivery fees, etc), you can do so by clicking on the Add Charge button. Select from pre-defined charges or add a custom charge.Adding additional items
Adding bulky items
If you need to add bulky items to the order, click on the Add bulky item button and enter the corresponding information in the modal.Adding boxes
You can add extra boxes to the order as long as they are either currently unassigned or with the customer that the order is for. Click on the Scan items button and you can either scan the item barcode or enter the ID manually.Finish collection
When finished, click on the Finish collection button to move to the next step.Cancel collection
If a collection was unsuccessful, click on the Cancel collection button and enter a reason in the pop-up which will be saved in the History section of the order. The system will automatically add a failed collection fee to the order.Note: You will not be able to cancel a collection if there are items marked as Collected. In the case that you have accidentally marked some items as Collected, click on the Collected tab, select the item and click on the red Mark as not collected button to move it back to the To collect tab.Jump to
Related articles
Valet Order Step: Pick empty boxes or items
Valet order step: Review orders
Valet order step: Deliver to the customer
Valet Order Step: Store items in a warehouse
Valet order step: Pick products
Valet orders: Process each step