Items detail and management
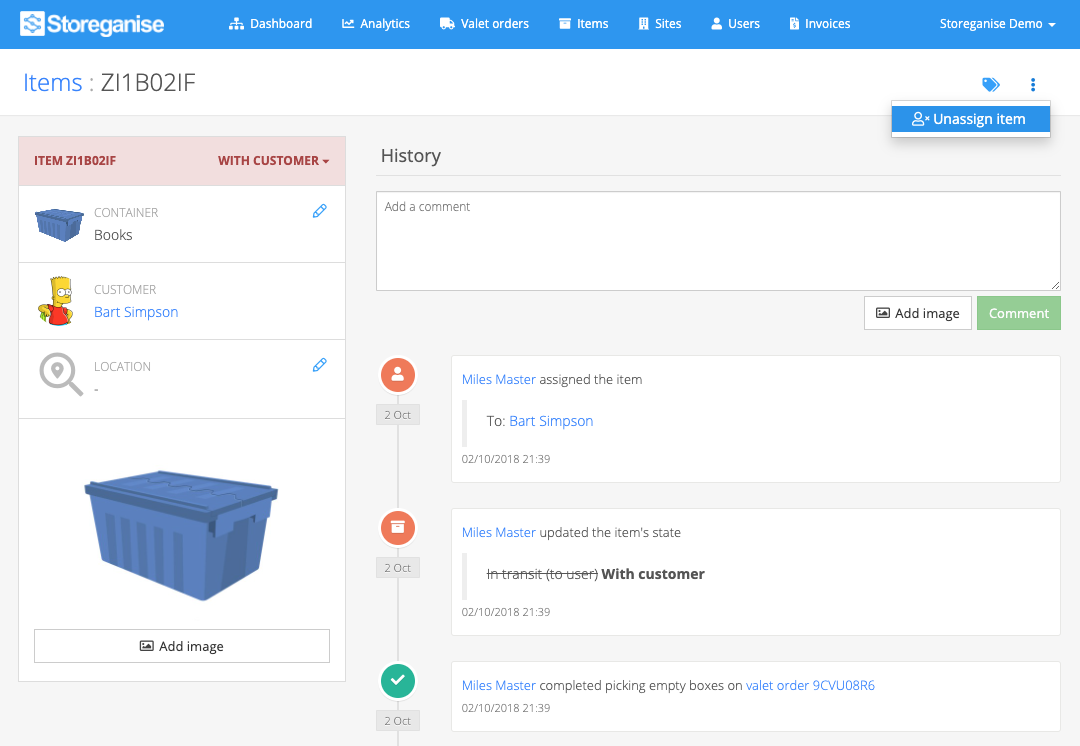
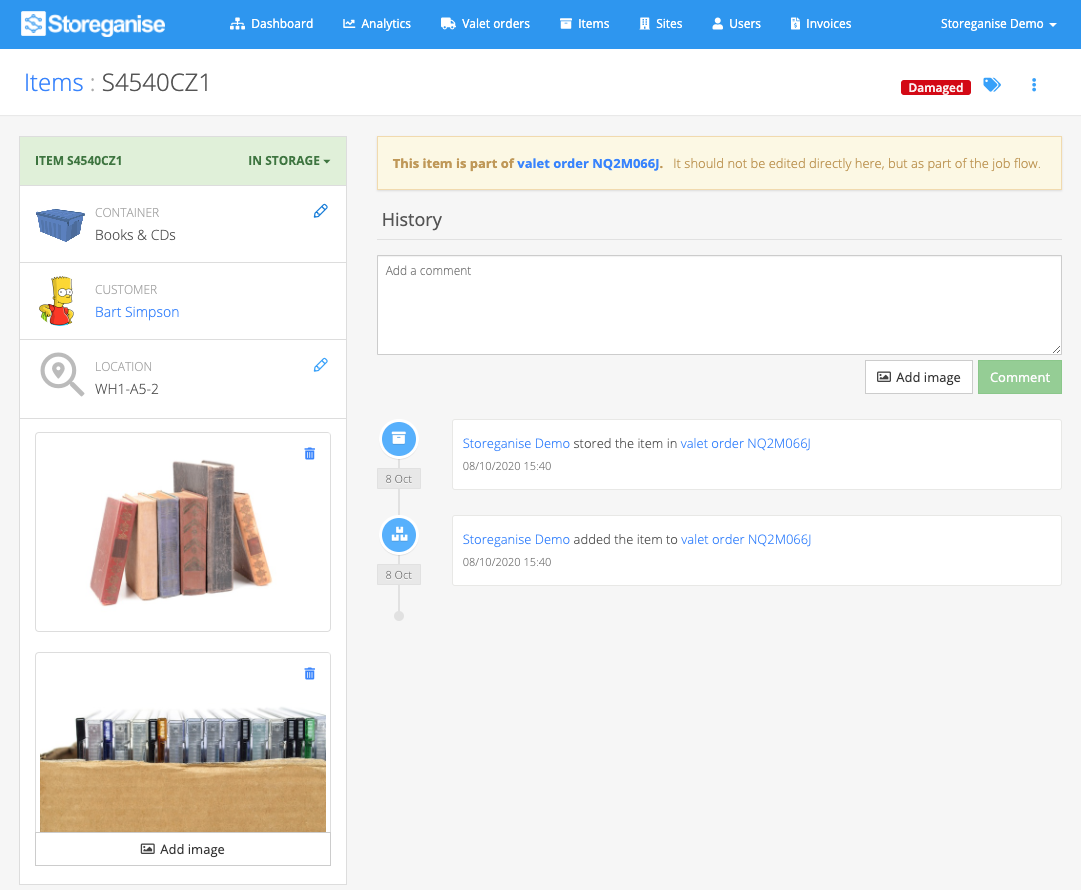
Each item has a page showing all details for the item including item type, state, location, owner and item title. The History section at the bottom shows the full history of any change in state, title, owner, location or image associated with a particular item. You can add comments or images to the history log from this section too.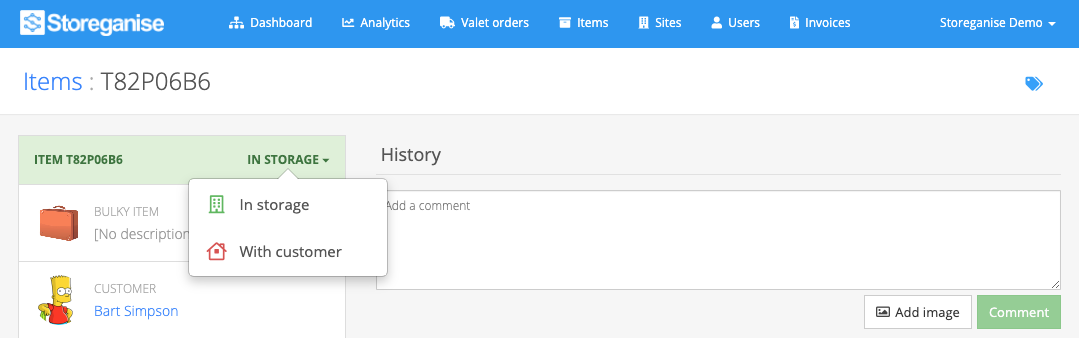
 In the pop-up, you can choose the user from the user search and set the state as In storage or With user. If setting to In storage, a location ID must be entered too. Only unassigned items will have the option to "Assign" it to a user.
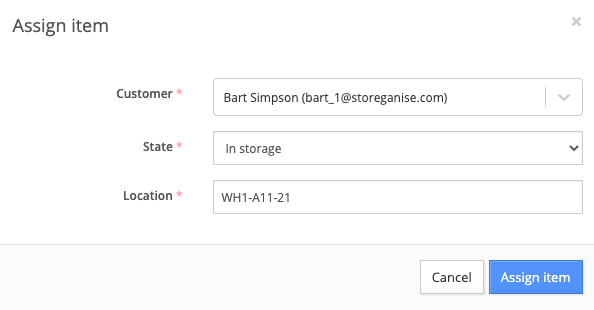
Update an item state
Click on the current item's state and a dropdown will appear with different states that the item can be changed to. The options will vary depending on the state and type of item you are updating.Edit an item
You can update an item's location and description by clicking on the 🖉 icon next to the item type or location sections.Unassign a box
To unassign an item from a user, click on the ⠇icon on the top right of the page and select Unassign item. Only boxes can be unassigned. Bulky items cannot be unassigned as they cannot be in an "empty" state but rather always need to be assigned to a user in the system. Read below on how to delete a bulky item if needed.Note: As per the warning, unassigning items removes the item's title, descriptions and images. While the item can be assigned back to a user if it was changed incorrectly, the removal of the images, title and descriptions cannot be undone.Assign a box
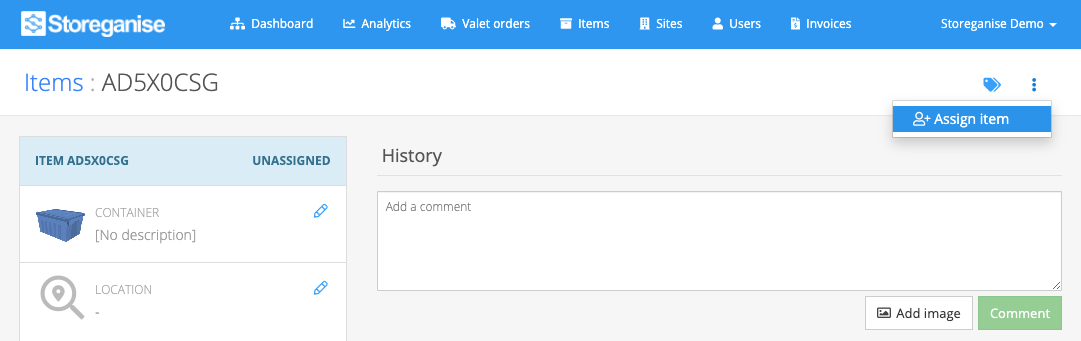
To assign a box to a user, click on the icon of the ⠇icon on the top right of the page and select Assign item.Delete a bulky item
Bulky items can be deleted in one of 2 ways:Management Portal
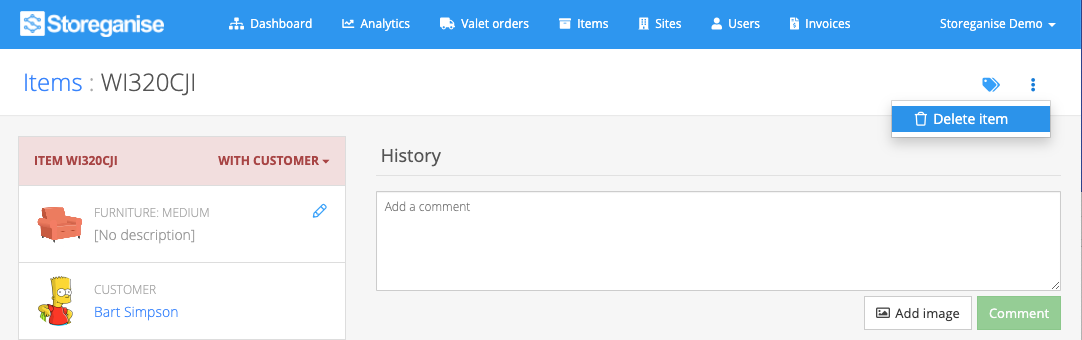
Operations users can delete bulky items from an item's details page by clicking on the 3 dots in the top right corner of the page and clicking delete. The item state must be 'With Customer'.Valet Customer Portal
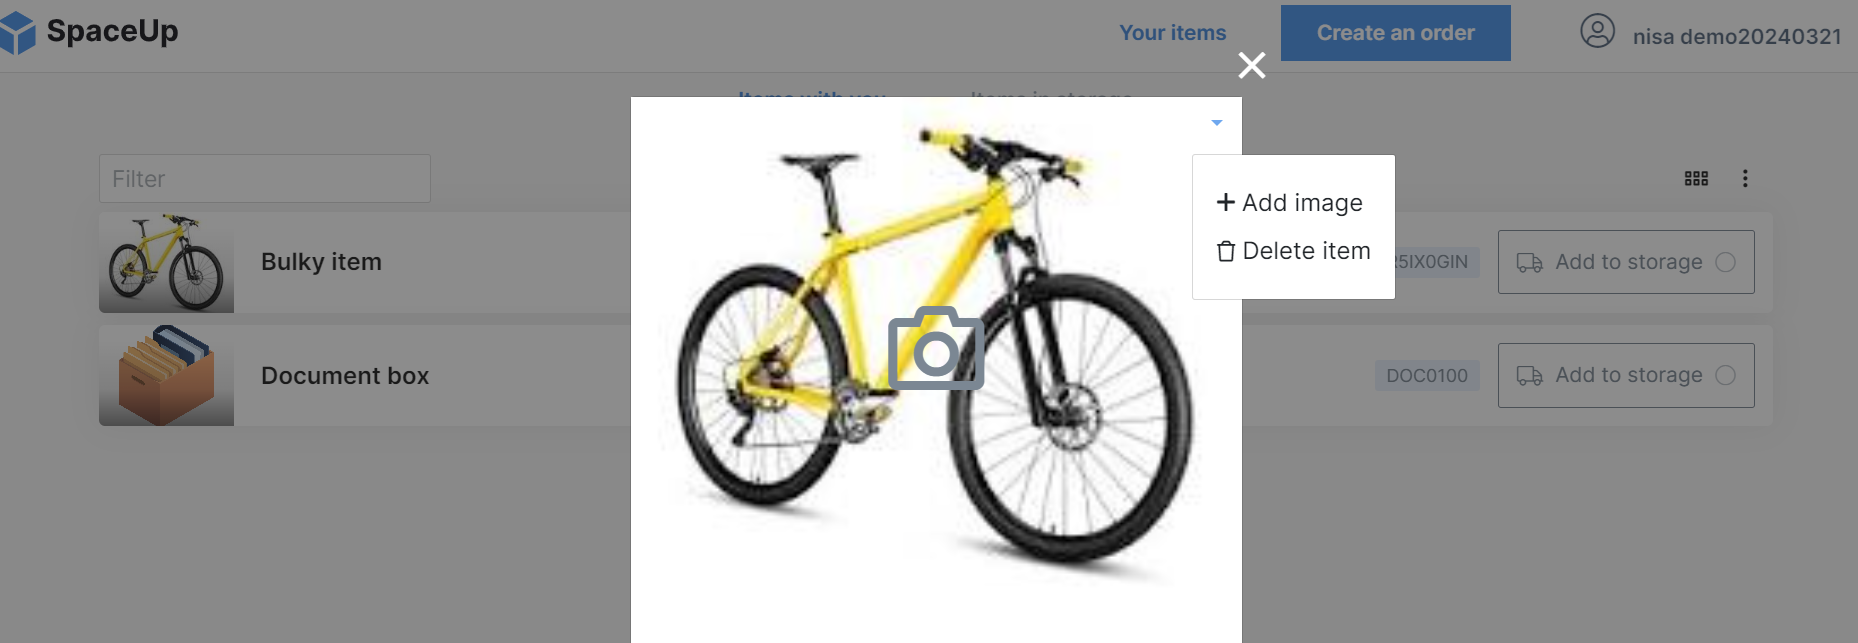
A user can delete bulky items from their account if they are in the 'With Customer' state by clicking on the pencil icon and then then trash icon.Item images
Click on the Add image button under the item image to add a custom image for the item. The default image assigned to the item in the main Item settings will show automatically until overridden. Multiple images can be added to an item. Click on the trash icon to delete an image.Item image & title visibility
This is the logic that applies to images or titles for specific items regarding how the data is displayed across the Customer and Management Portals:Image/title added via Customer Portal
- If a customer adds an image/title to an item from the Valet Customer Portal, this is the image/title they will see but it will not be visible to the Management Portal users.
- Management Portal users can still add an image and title for their own record, which will be visible in the Management Portal but not the Valet Customer Portal (unless the customer later deletes the image or title associated with the item, in which case the following will happen).
Image/title added via Management Portal only
- If a customer doesn't add an image or title but these are added to the item via the Management Portal, the chosen image or title will be visible in both the Management Portal and the Valet Customer Portal.
Item labels
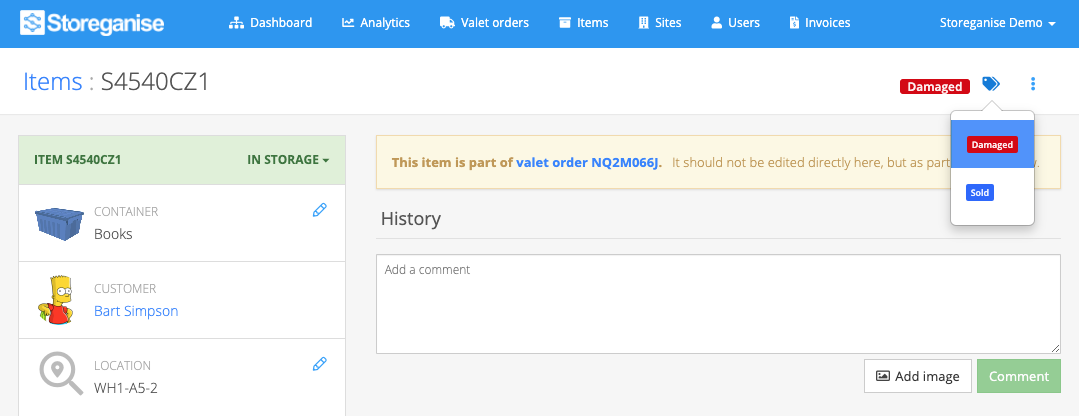
You can apply labels to items by clicking on the label icon on the top right. Select one or multiple labels to add to the item then click elsewhere on the page to save them.You can set up & update labels in the Label settings.Removing items from completed valet orders
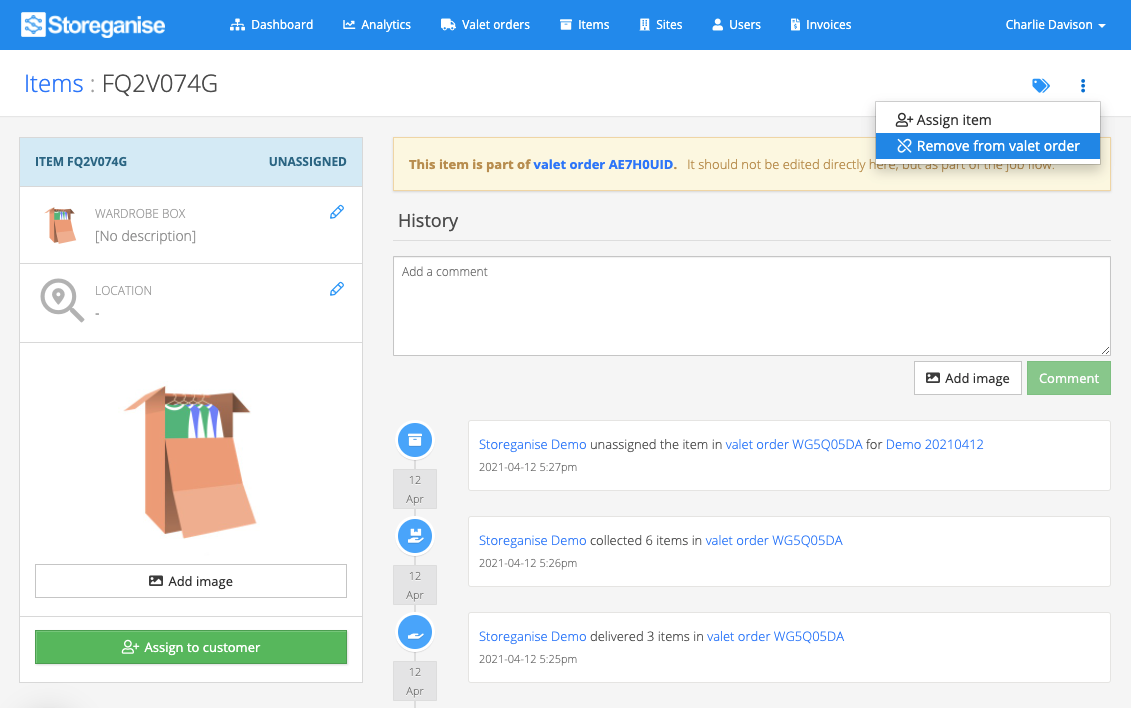
In some rare situations, when items are updated outside of a valet order they are assigned to, the item can remain linked to the order even after it has been completed. In such cases, you can remove the item(s) from the valet orders on the item details page.Click on the three dots in the top right-hand corner of the page, and select Remove from valet order (see below).Update item type
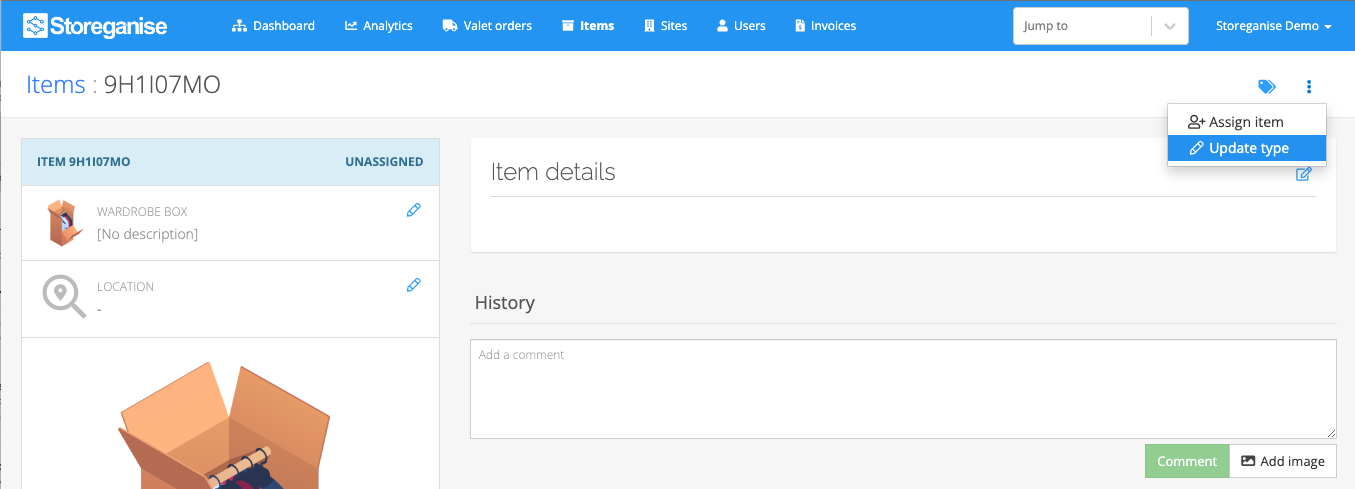
You can update an item type when it is not in storage by clicking on the 3 dots on the top right and selecting Update type then choosing the new type from the window that appears.Jump to
Related articles
Adding and editing item types & products
Boxes and bulky items information
Filter, update, and export items