Email settings
Overview
This section of the settings panel allows you to customise the email templates, set invoice reminders and update the contact information which will appear in the emails sent out to your customers.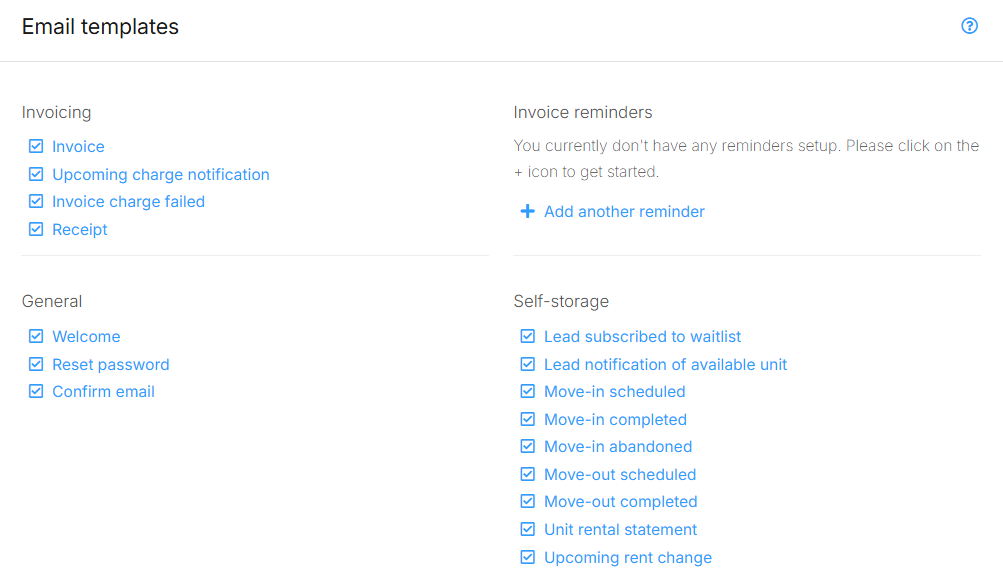
Email contact information
Email name
This is the name that will appear in the 'from' field in all system-generated emails sent out to your customers.Email address
The email address that will appear as the sender and reply-to address for all system-generated emails sent to your customers.BCC emails
Optionally, enter one or more comma-separated email addresses. These addresses will receive BCC copies of selected customer invoice emails (such as invoices, reminders, unit rental statements, and upcoming rent change notices).Email templates
Here you can modify the subject and body of all of the customer-facing emails that the system will send out. Click on an email to open the modal where you can make changes as per below.Available templates and their use:
The email templates are divided into several sections, each tailored to specific purposes:- Invoicing
- Invoice: Sent to customers when a new invoice is generated.
- Upcoming charge notification: Sent to notify customers of an upcoming charge before it is processed. [NOTE: only applies to invoices in a Delayed state]
- Invoice charge failed: Sent automatically when a payment attempt fails.
- Receipt: Sent once a payment has been successfully processed.
- General
- Welcome: Sent to new customers upon account creation.
- Reset password: Sent when a customer requests a password reset.
- Confirm email: Sent to customers to verify their email address.
- Self Storage
- Move-in scheduled: Sent when a move-in has been scheduled.
- Move-in completed: Sent once a move-in has been completed.
- Move-in abandoned: Sent to customers who started but did not complete a move-in order. See Abandoned Orders.
- Move-out scheduled: Sent when a move-out has been scheduled.
- Move-out completed: Sent once a move-out has been completed.
- Unit rental statement: Sent to provide customers with a detailed statement of their unit rental.
- Upcoming rent change: Sent to notify customers of an upcoming change to their rental fees.
Adding and updating email templates
Editing the template
If you want to edit the default template, you can do this using Markdown for formatting.Insert placeholder
When drafting the email, you can insert placeholders for data relevant to the customer, order, unit, invoice, etc by clicking on the Insert placeholder and selecting one of the options from the dropdown. The options will vary depending on the email template you are editing.Note: For a multiline field, like user's address, wrap the placeholder like this:<span style="white-space:pre-wrap">{{user.address}}</span> Reset content
If you've made changes but you'd like to revert to the system default template for that specific email, click on the Reset content button.Toggling between languages
If your instance is setup with multiple languages, you can switch between the languages using the tabs above the subject line. When changes have been made, the respective template with changes will be highlighted with an asterisk*.Preview
Click on the Preview button to open up a separate window where you can preview what the email template will look like.
Enable or disable sending of emails
You can choose whether you want each email to be sent to your customers by using the Enable email notification setting when editing an email template. When the checkbox is ticked 🗹, the email is setup to be sent to customers. When left blank, the email will not get sent.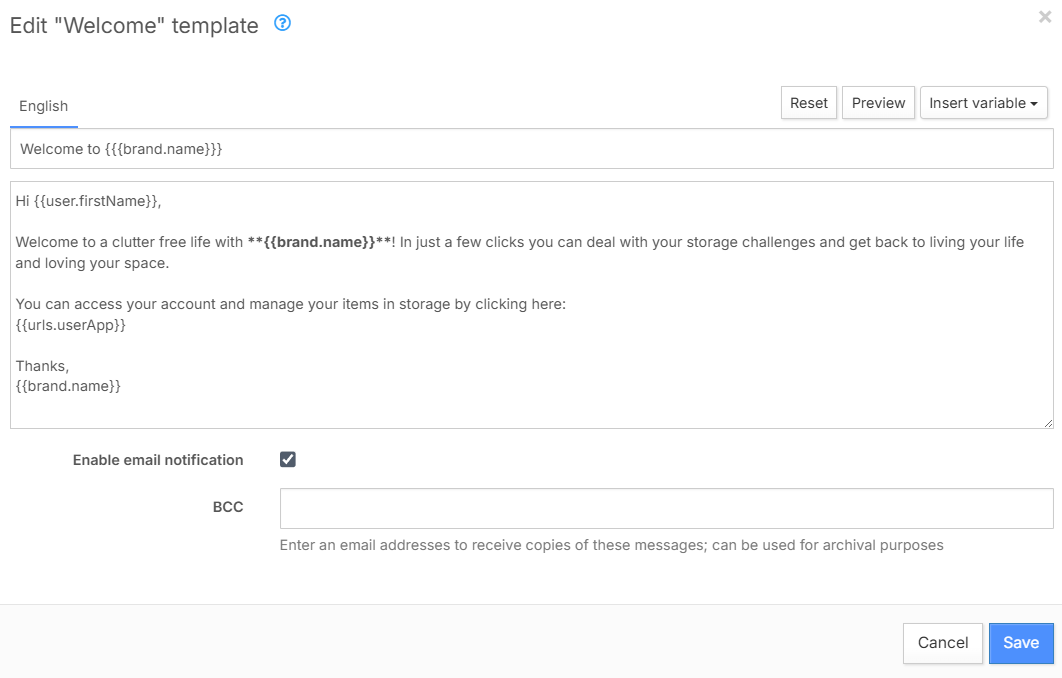
BCC emails
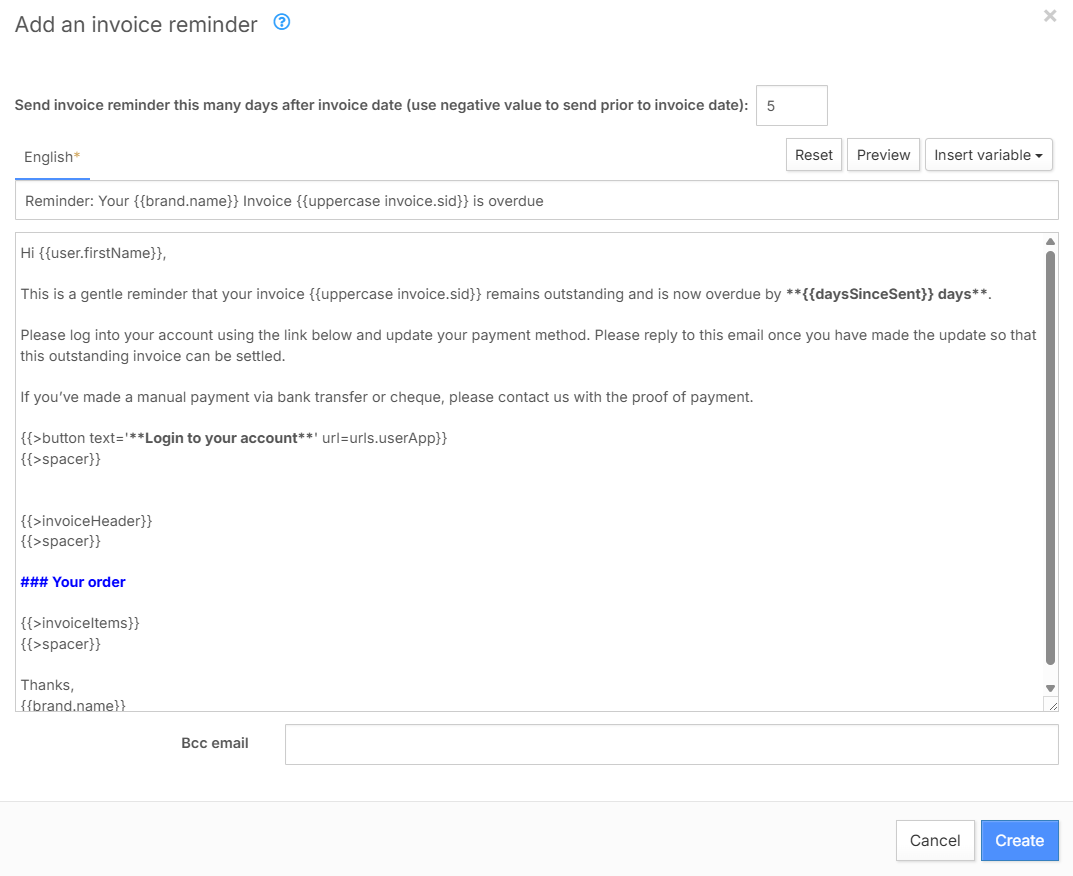
Enter one or more comma-separated email addresses to receive BCC copies of selected customer invoice communications. These can include invoices, invoice reminders, unit rental statements, and upcoming rent change notifications.Managing invoice reminder emails
Unlike other email templates, invoice reminder emails cannot be disabled. If you do not want these reminders to be sent, you will need to delete the email template. This will stop the reminders from being sent. Once the template is re-added, the reminders will resume as before.Email logging
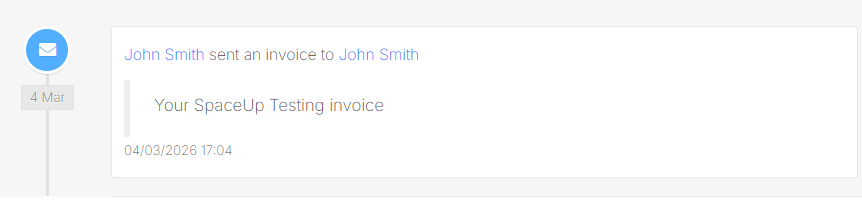
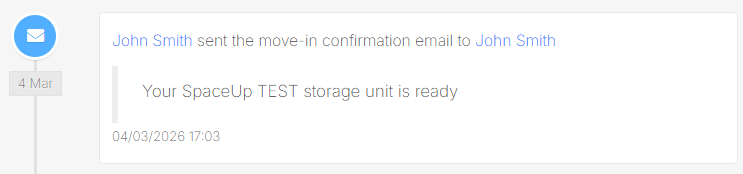
Storeganise automatically logs key emails sent to customers from the system. This allows operators to see when emails were sent and review the related communication historyYou can view email logs in the following locations depending on the type of email:- Invoice emails – Open the invoice and check the History.
- Move-in emails – Open the unit rental and go to History.
- All user-related activity – Open the user account and go to History.
Jump to