Connecting Google Analytics 4 (GA4) to your customer portal
Important Note: Conflict between Google Tag and GA ID Setup
You can have both a GTM (Google Tag Manager) ID and a GA (Google Analytics) ID set in your developer settings within Storeganise. However, ensure that GTM tags do not have an active Google Tag, as gtag handles the same job when GA ID is set. Activating the Google Tag may cause clashes and data collection issues like missing events.
Other tags such as Google Analytics GA4 Event tags do not conflict with GA ID and are valuable for Google Analytics reports.
Our system supports GA4 integration, but we do not provide specific configuration assistance as it is not included in our standard offerings.
Storeganise does not offer support for GTM use or guarantee that any custom GTM code will work within Storeganise. Additionally, periodic updates to the Storeganise API could impact or even break how custom GTM code works. Please note also that many users may not see changes made via GTM due to the widespread use of ad-blockers.
Resources
You need to have Google Analytics installed and configured before you can connect them to the Storeganise Customer Portal. If you don't have GA4 installed, please read the following articles by Google or consult with your web development team.- support.google.com: Get started with Analytics
- support.google.com: Introducing Google Analytics 4 (GA4)
- support.google.com: [GA4] Set up Analytics for a website and/or app
Getting started
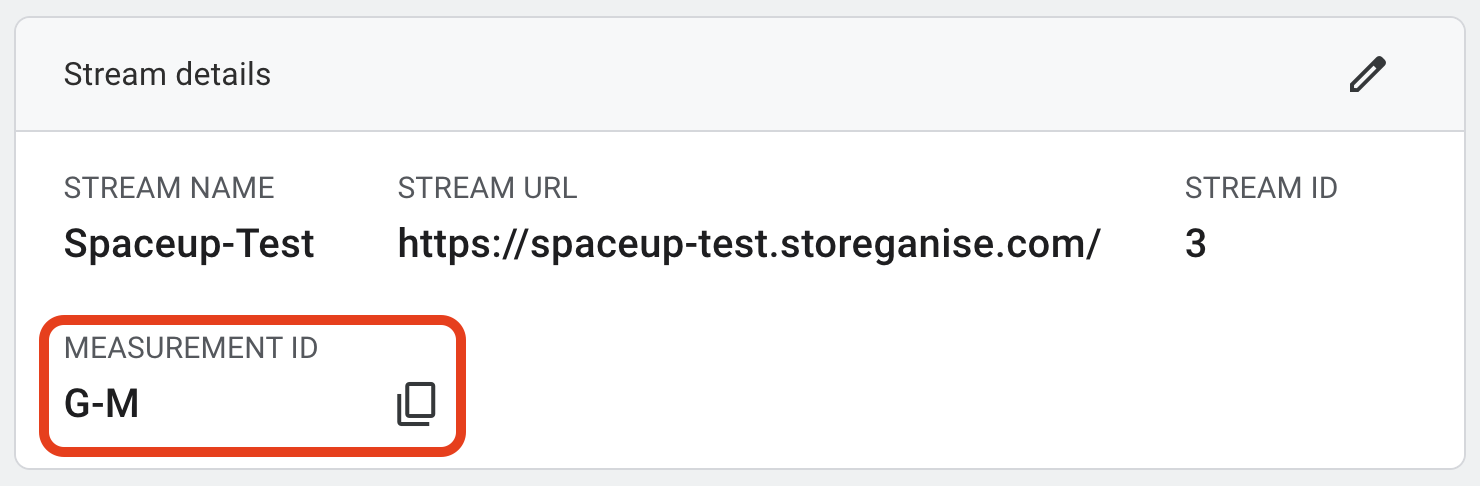
Log in to your Storeganise account. Click on your name in the top right corner and select Main Settings.Open the Developer tab in the left menu and scroll down to Customer Portal Integrations where you will see an option to add a Google Analytics ID. Paste your Google Analytics 4 Measurement ID here and click Save.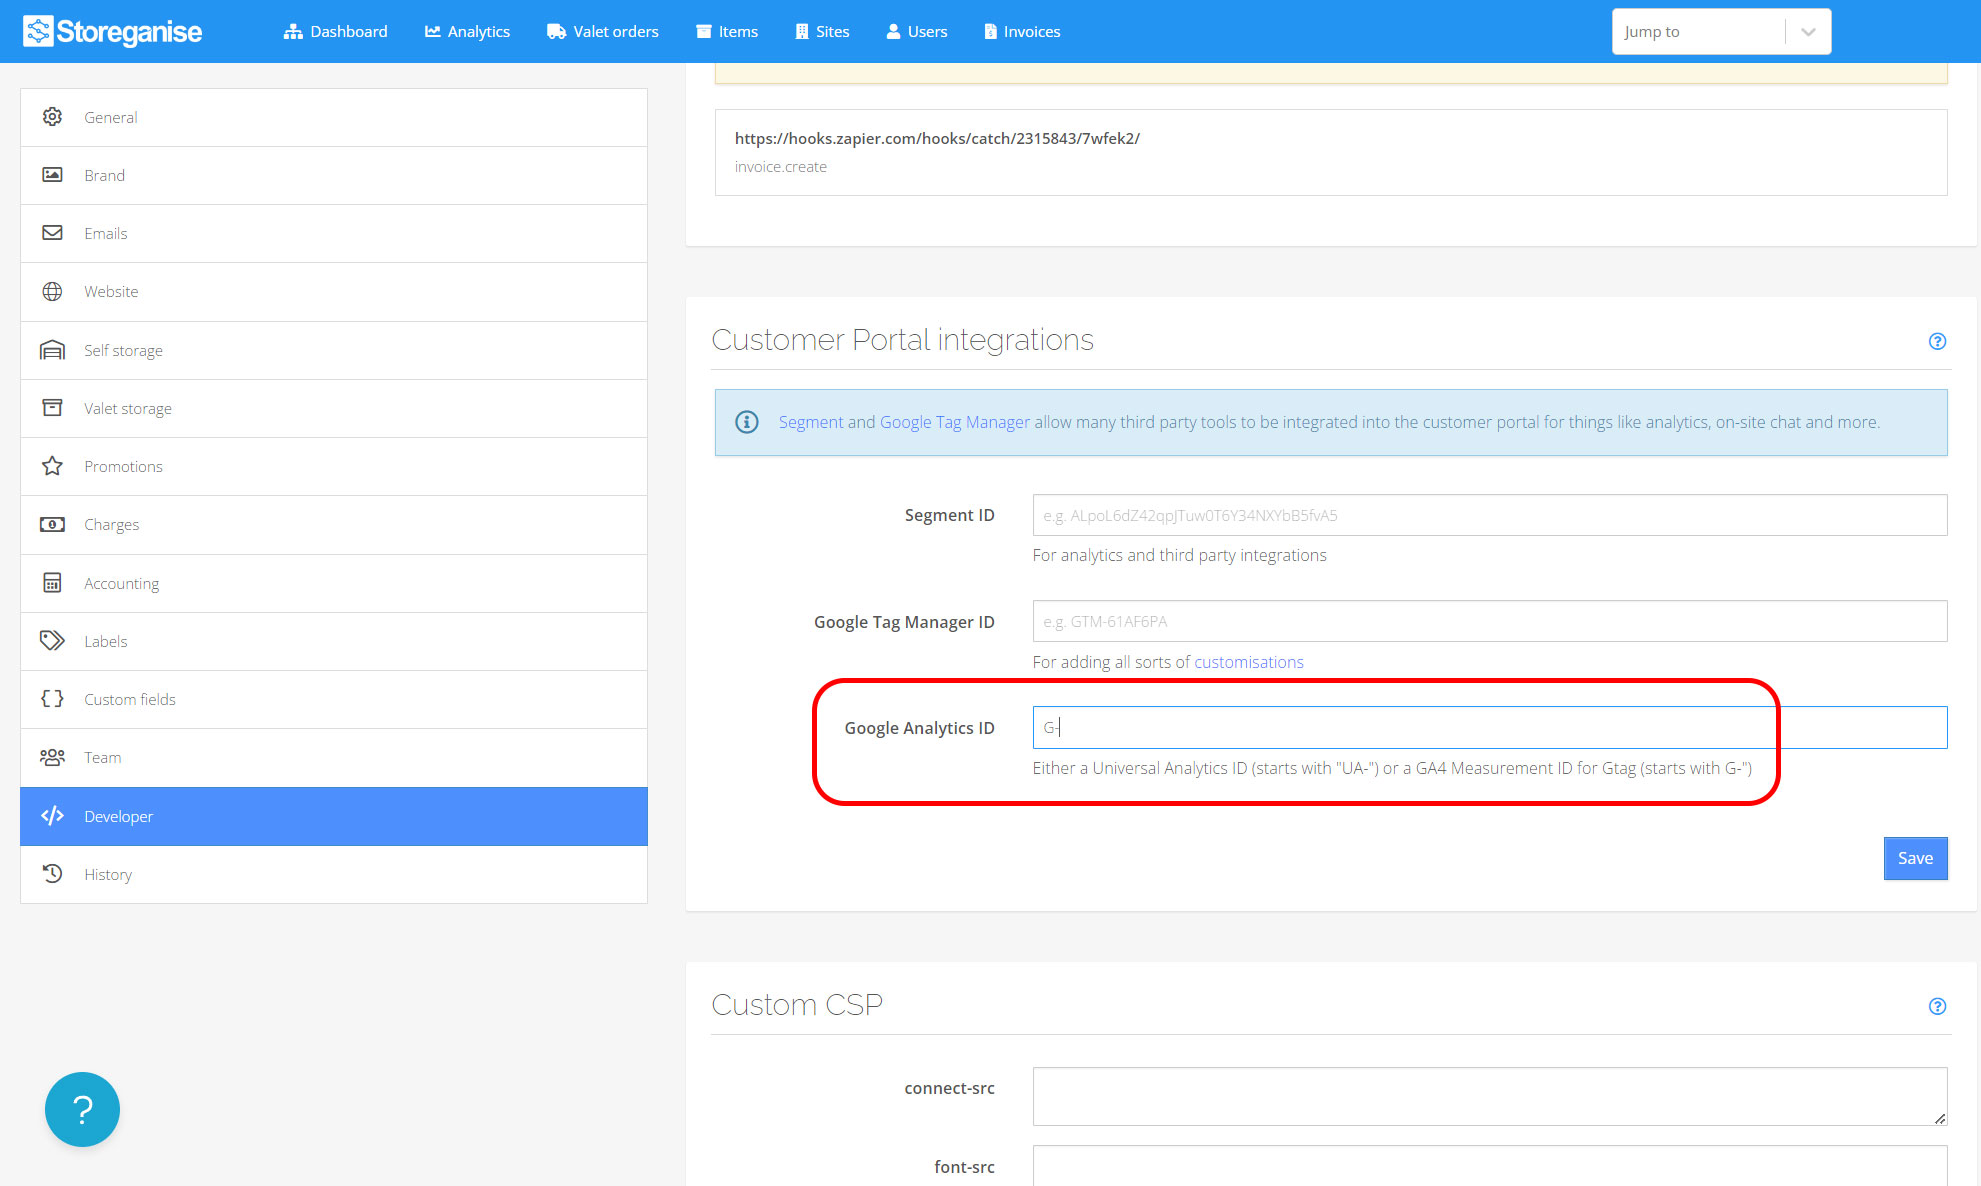
How to get your Measurement ID?
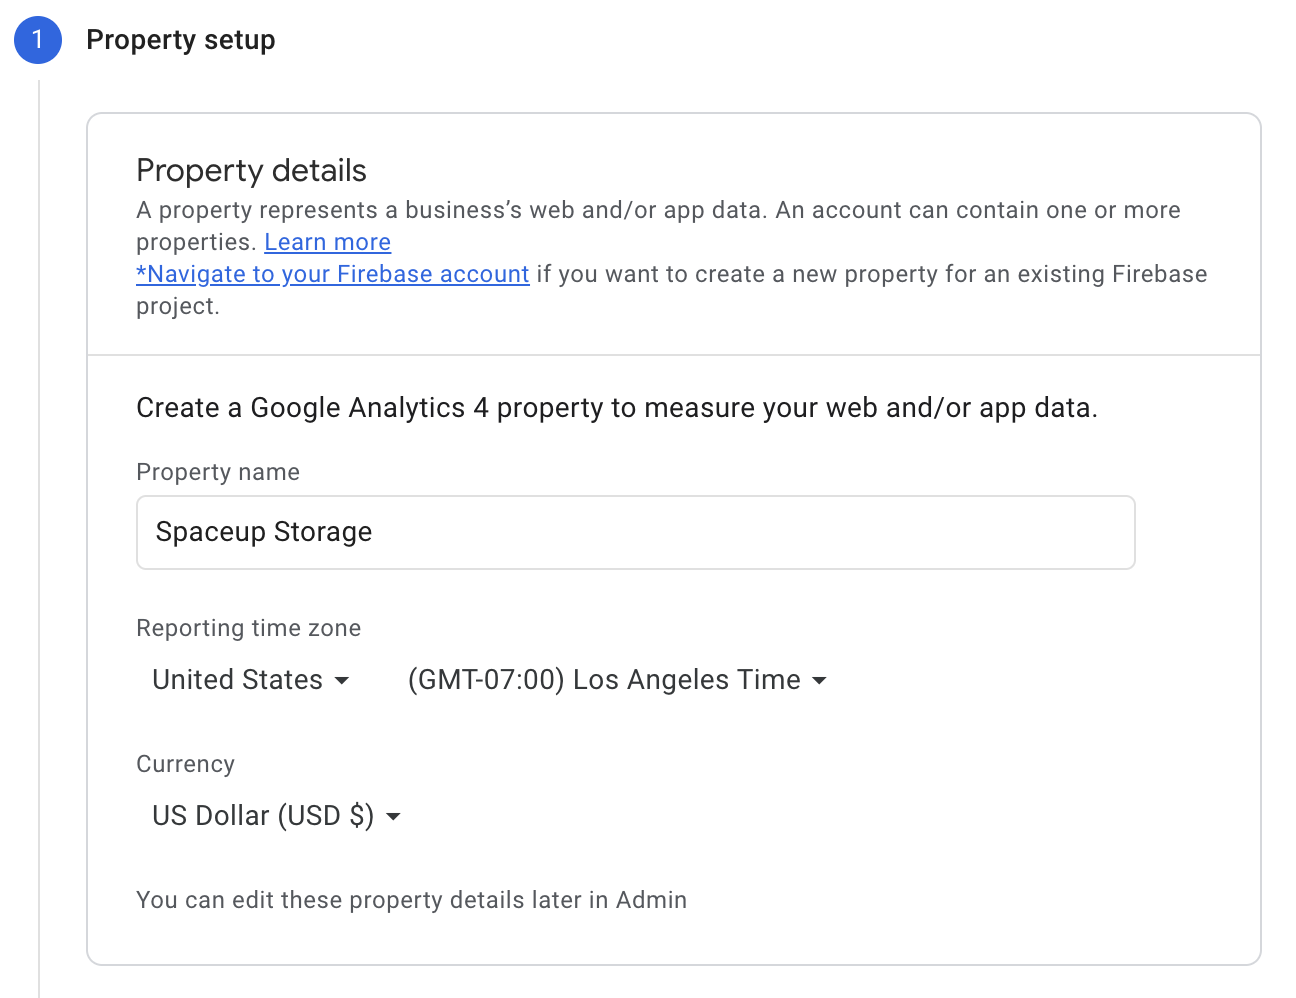
Create a Google Analytics 4 property and Data StreamFirst, you have to upgrade your existing GA property to GA4 or create a new GA4 property. To create a new GA4 property go to the Admin section of your Google Analytics account by clicking Admin in the bottom left corner and then click Create Property in the Property section.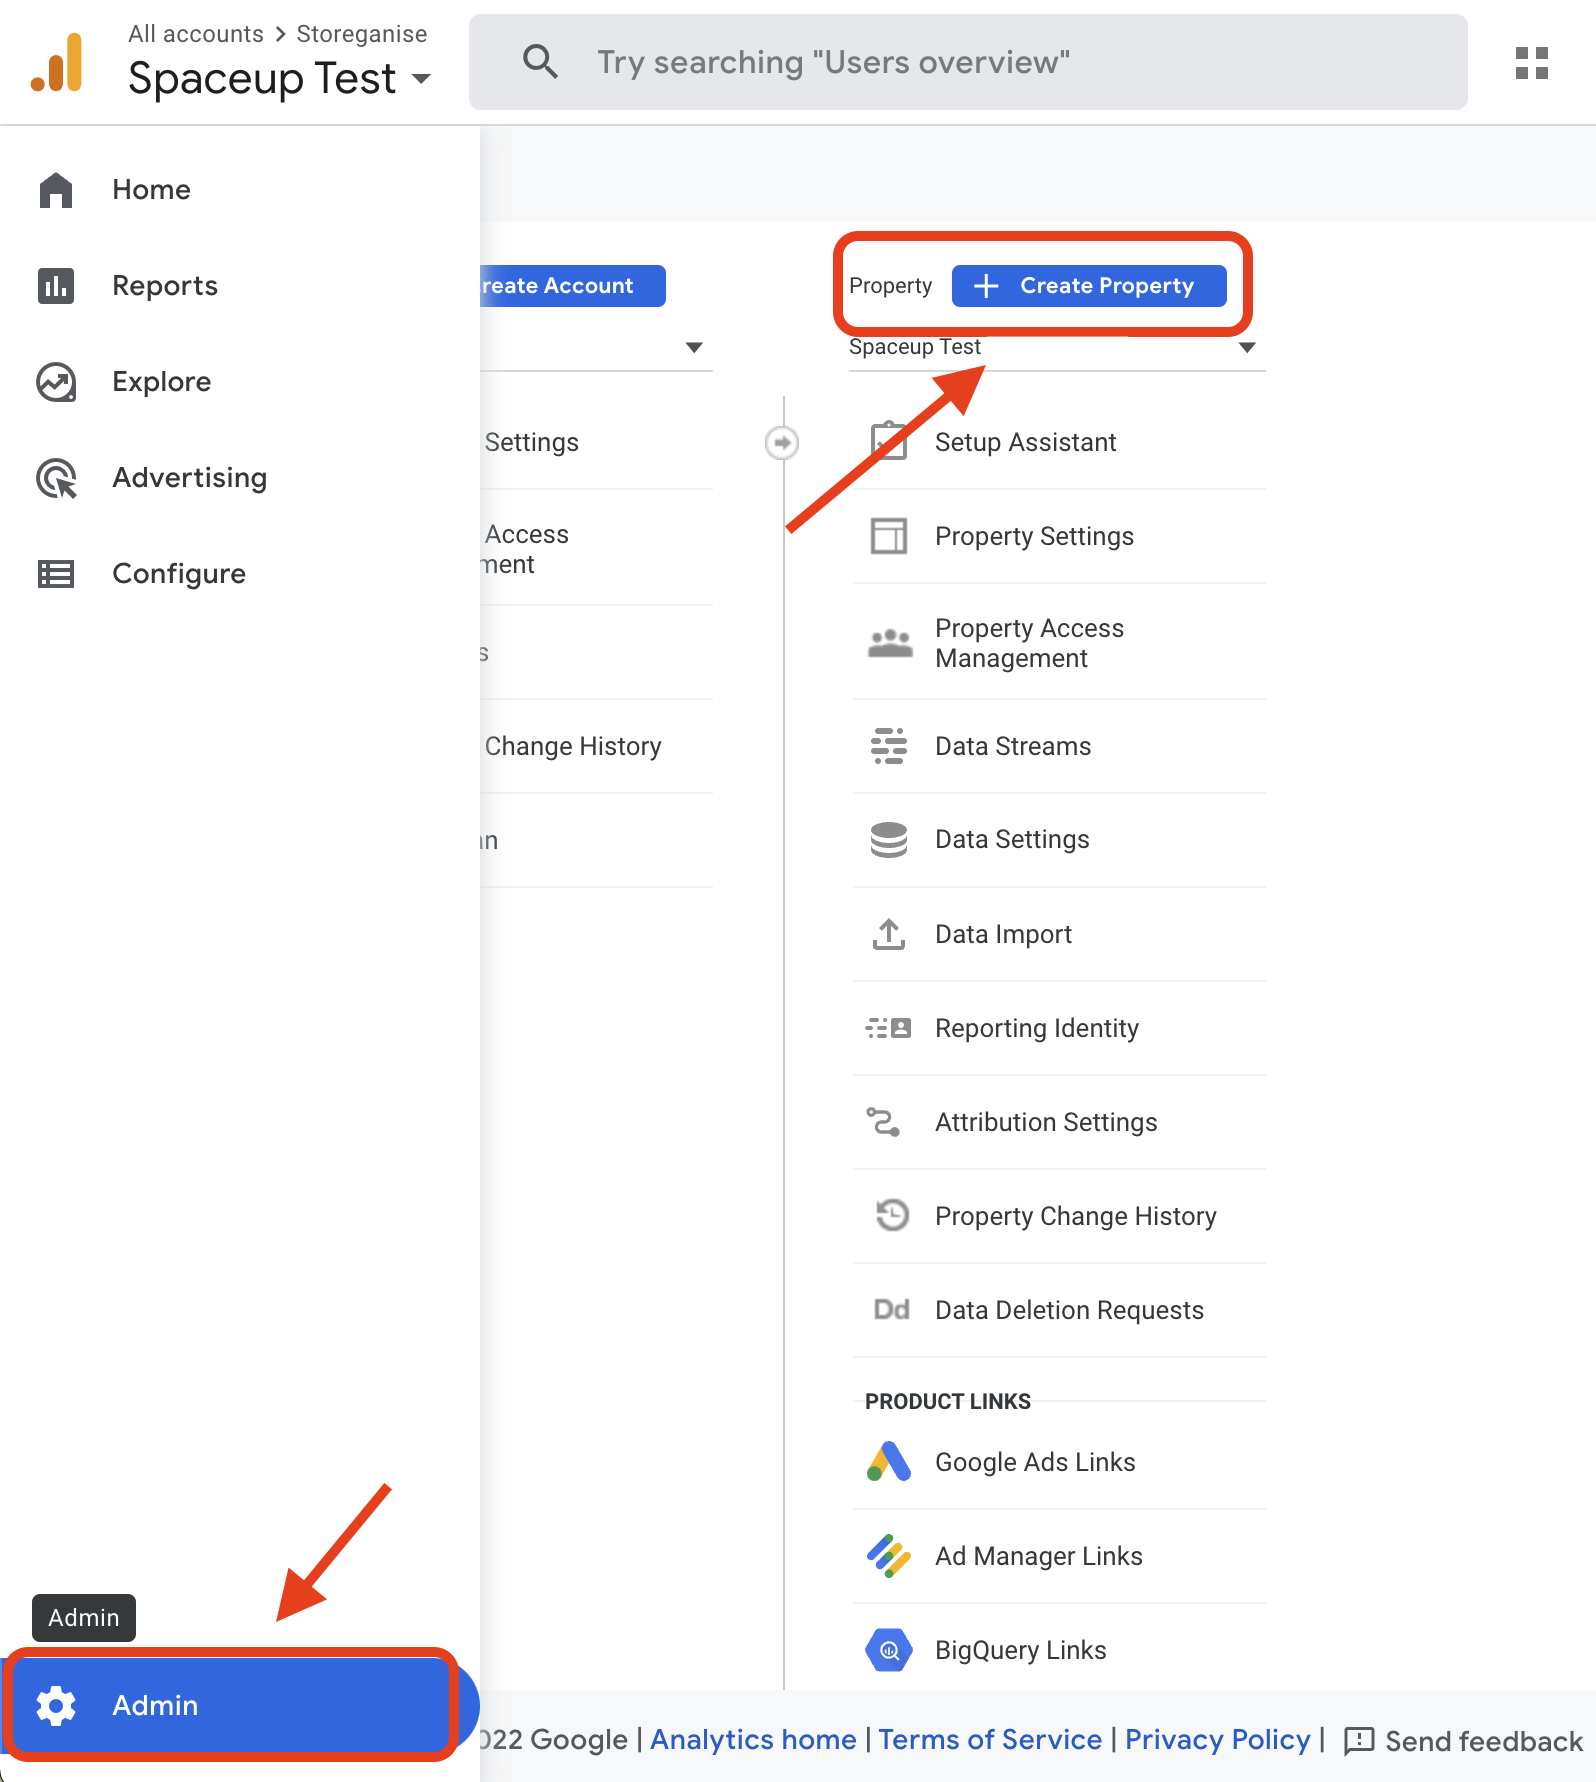
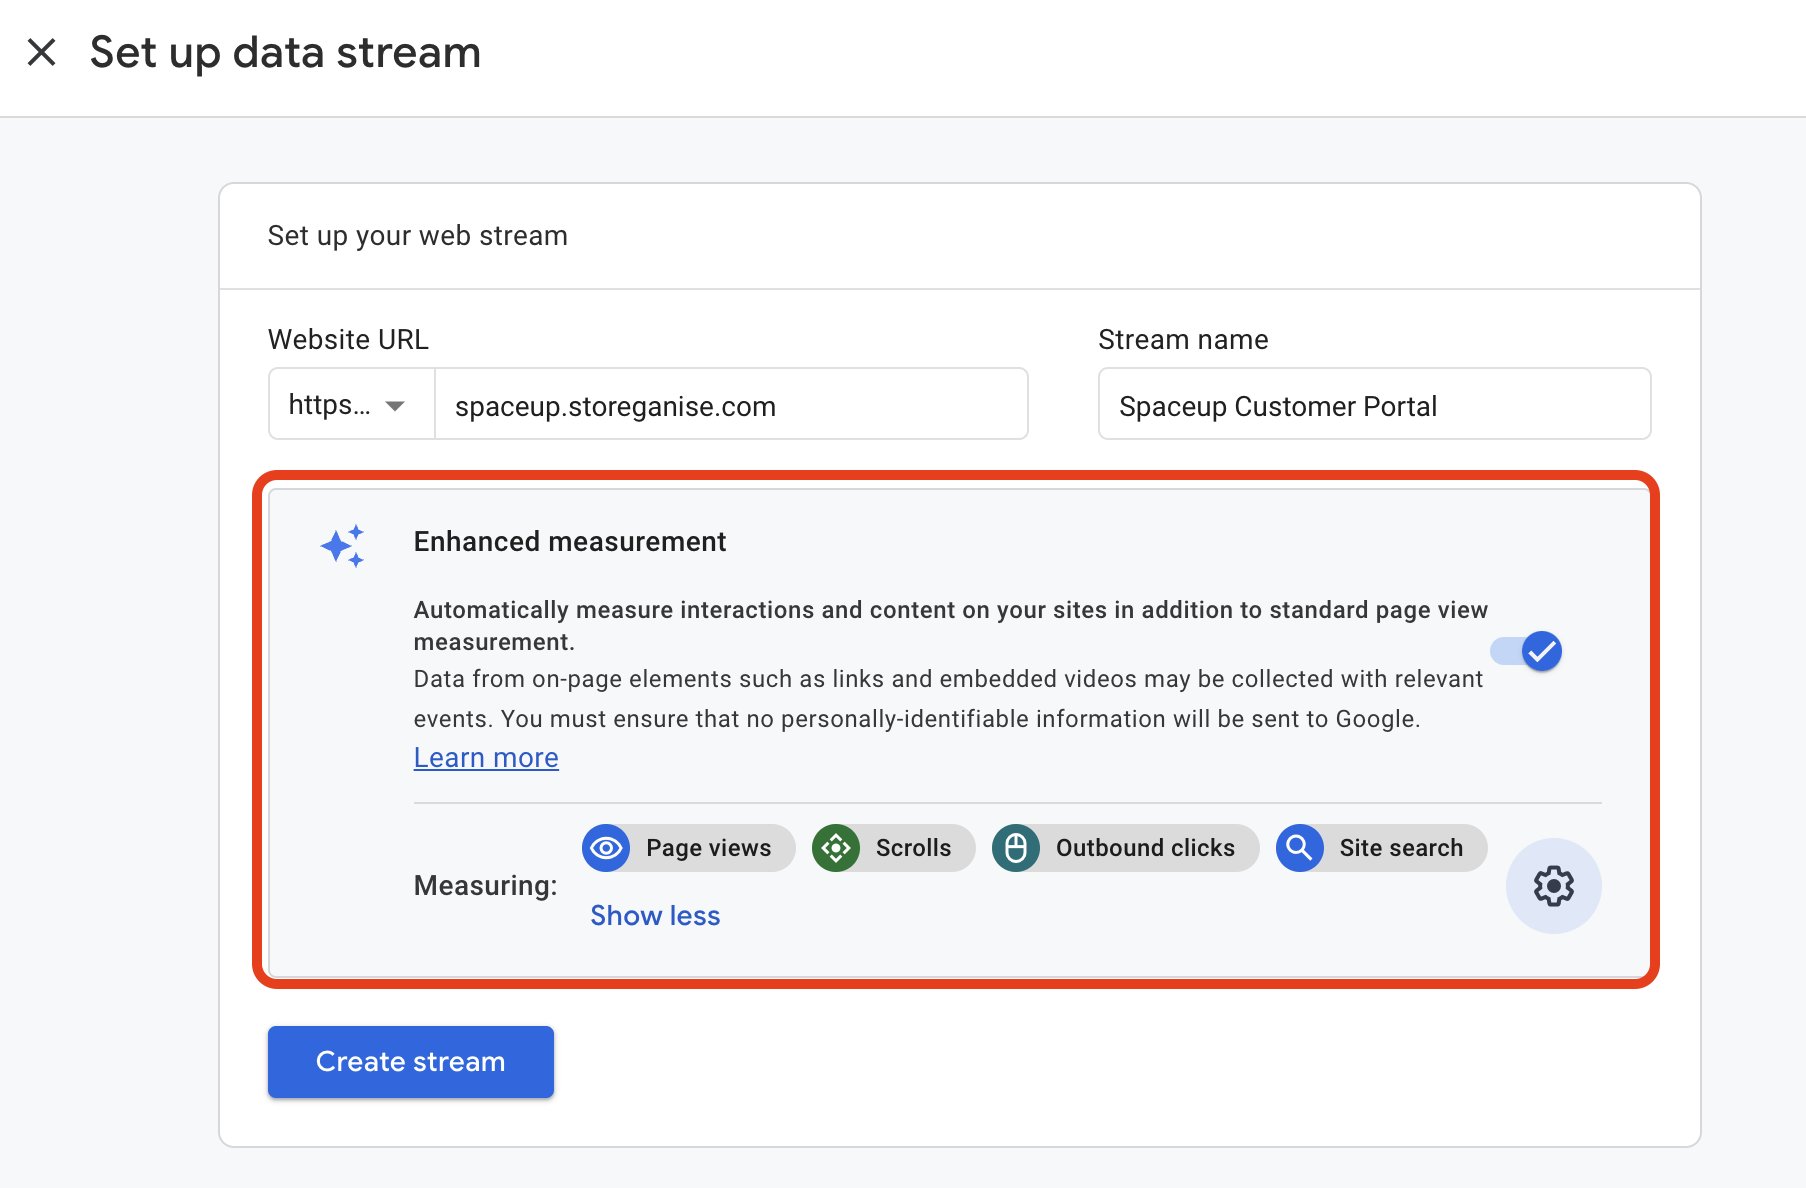
Configure your data stream
The data stream is a data source from which events are sent to your GA4 property.Under Data Streams click Add stream and choose to create a new Web data stream.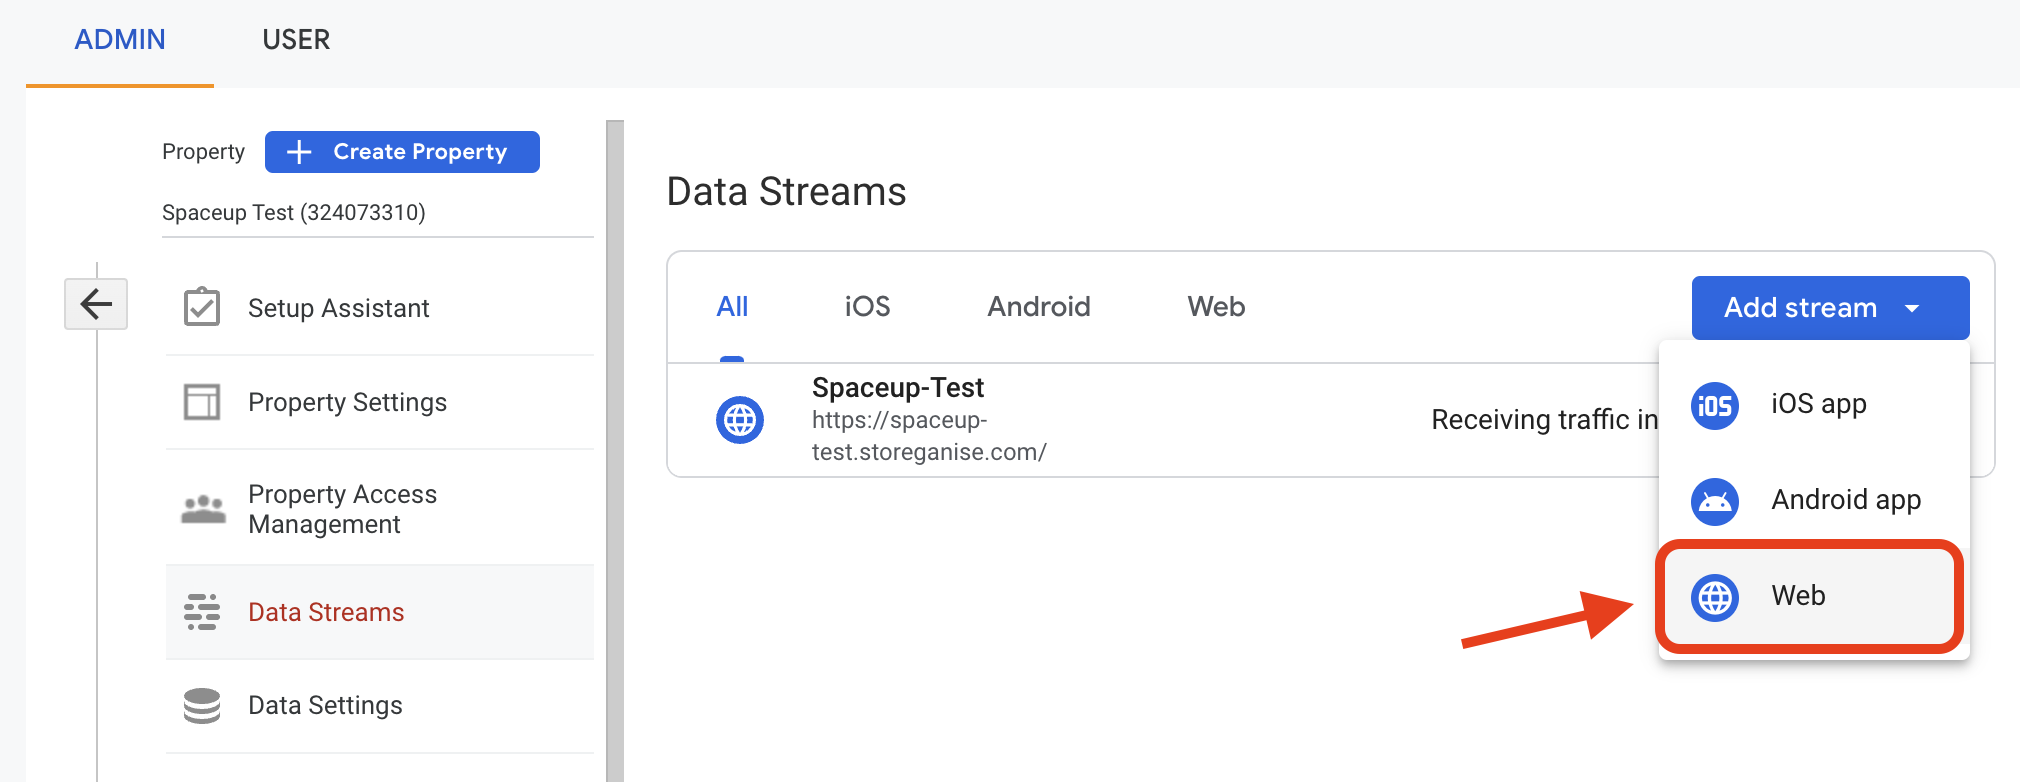
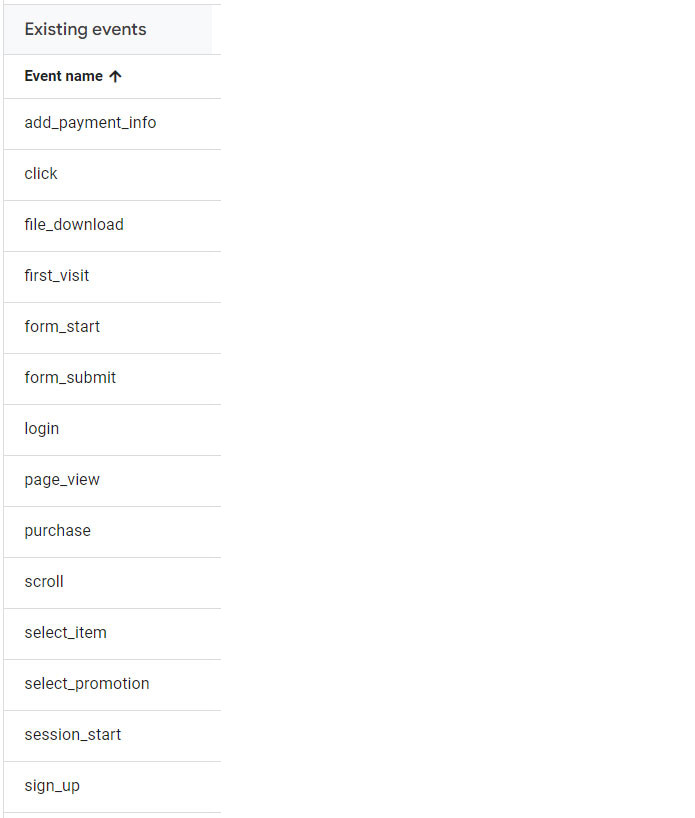
GA4 events
Your GA4 should now be installed and the data should start flowing. Notice: It can take up to 48 hours for your events to start showing in Google Analytics reports.After GA4 has been installed, you will be able to track default events like clicks, and page views, for submission, and also custom events that are sent from the customer portal source code, which are GA4 e-commerce events:- sign_up (method - relevant for Google sign in)
- login (method)
- select_item (currency, items: [{ item_id, item_name, price, quantity }]) Sent at every list selection step (products, unit types, ..)
- begin_checkout (currency, value, items: [{ item_id, item_name, price, quantity }] ) Sent when a customer completes the user account step in the order flow
- purchase (currency, transaction_id, value, items: [{ item_id, item_name, price, quantity }] ), Sent when an order is submitted
- select_promotion (promotion_name) Sent when a customer adds a promo code
- add_payment_info (paymeny_type) Sent when a customer adds their payment details in Stripe and other payment gateways
Adding custom events
With GA4 connected, you can monitor website traffic and user behavior. Add custom events to create funnels and track specific events on your Storeganise Customer Portal. To create a new custom event, log in to GA, select your GA4 property, and click on Configure in the left navigation menu. Then click on the Create event button.