Adding and editing plans for valet
If you want to charge customers based on the space they use, you need to set up plans. When a customer places an order with plans, they will choose a plan first and then select items to store within that plan.Once a plan has been assigned to a customer, this will appear in the User's page as a Recurring charge to be billed each month.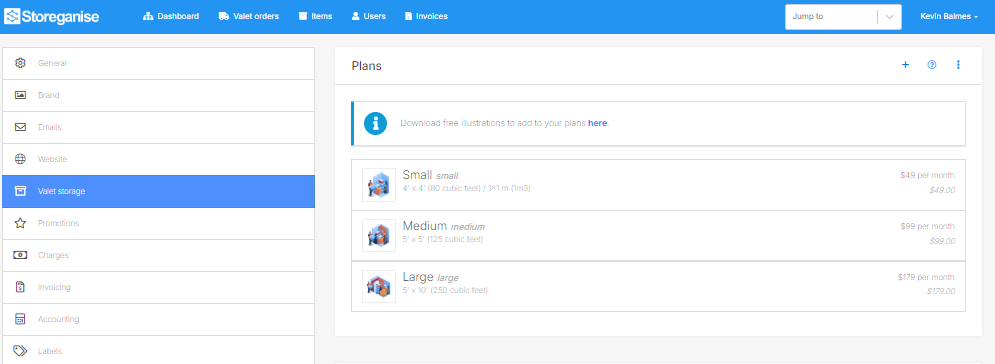
Adding & editing plans
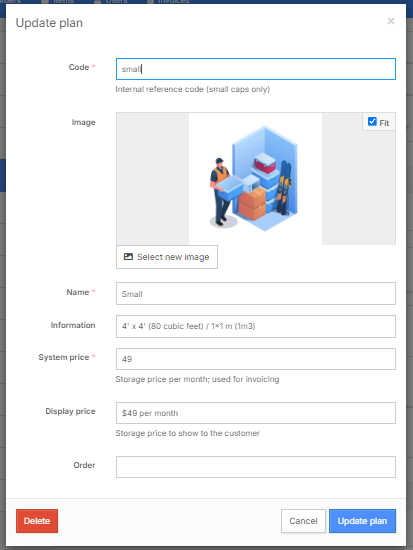
In the Main settings, click on the Plans tab. Click on the + icon to create a new plan. Or click on an existing one to edit it.Code
The name used in specific Valet Customer Portal URLs such that if a customer clicks on a plan from your front-end website, you can direct them immediately to the ordering process with that plan already selected (more on this below). Important: Make sure that each Name assigned to a plan is unique and that the same Name isn't used for multiple plans. This must be all in small caps.Image
What users will see in the Valet Customer Portal when creating an order. These need to be sized 600w x 400h (pixels) and for best results, the image should be centered, with a margin of 50 pixels top and bottom, and 100 pixels left and right. Images must be on white background (not transparent).Hint: To ensure the sizing is correct, you can use this image template as your canvas to copy the plan images into. Refer to this second image template to see the boundaries within which the images must be placed within the canvas to ensure nothing is cut off.Free illustrations: Storeganise provides free illustrations that you are free to use. You can view and download them here.Name
The name that will show in the Valet Customer Portal and Operations Portal as well as in invoices.Information
Will show to the user when they are selecting a plan as part of an order via the Valet Customer Portal.System price
The system price which will be used to set a Recurring charge on a user's account and which will appear in the invoices.Display price
What your customers will see when creating an order in the Valet Customer Portal. It can differ from the Price if you want to have something different shown to the customer vs what is set to invoice (e.g. in some cases where tax rules are somewhat complicated).Note: If you have a dual-language setup, the Name, Extra information and Display price will have 2 entries so you can enter the terms in both languages respectively.Adding a plan to a market
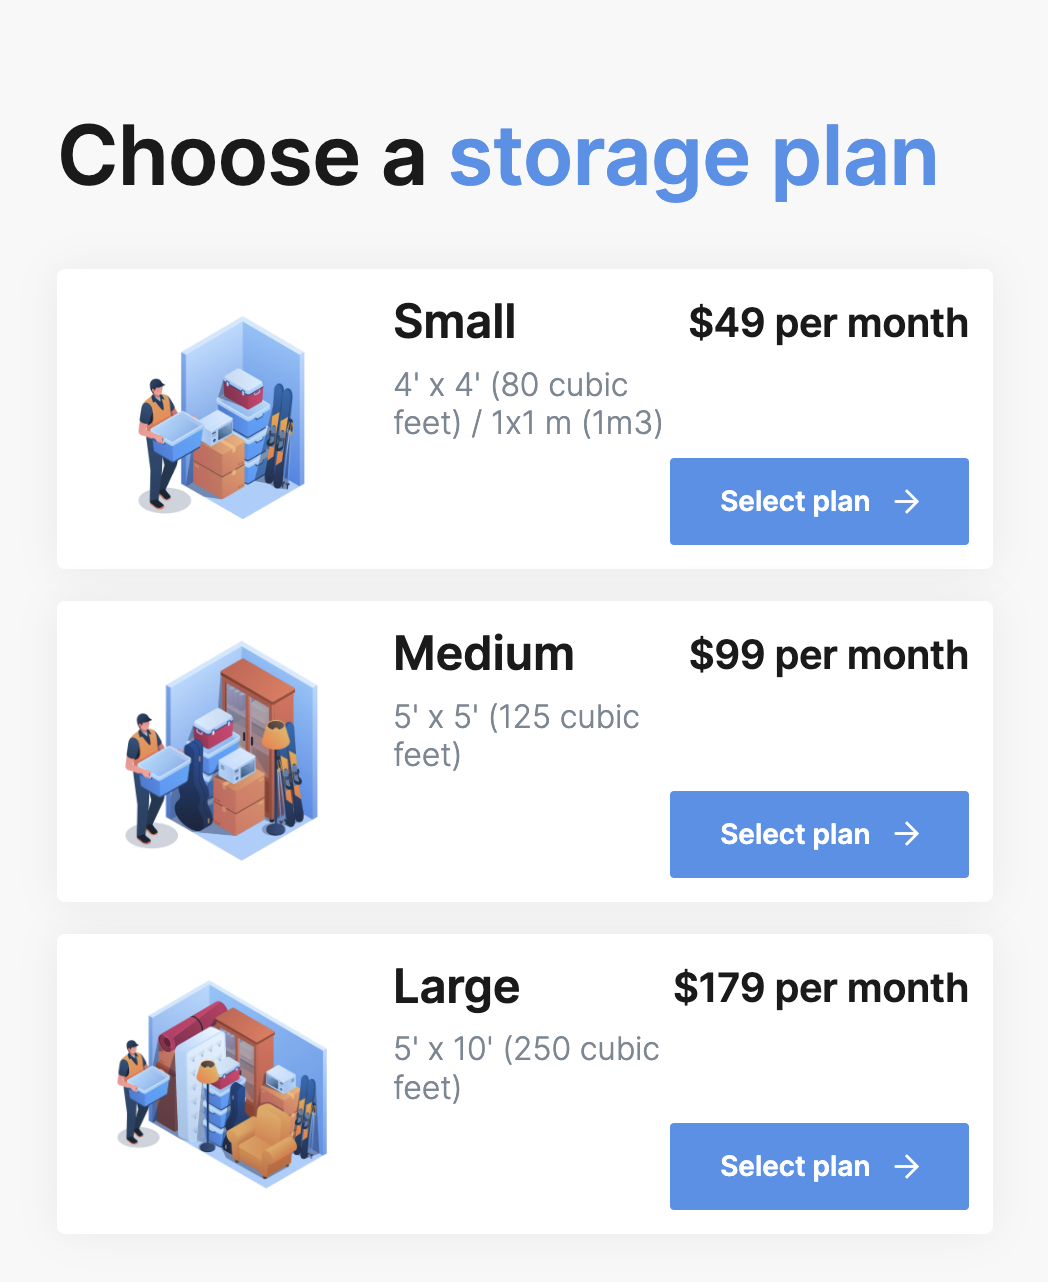
Plans don't automatically appear in the Valet Customer Portal for ordering. These first need to be selected as options in a specific Market's settings panel. See more on that in the Plans & products market-specific settings article.How it will look in the Customer Portal
Once added to a market, this is an example of what a customer will see when creating an order where plans are applicable.Jump to
Related articles
Customise storage items with market-specific settings